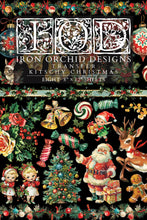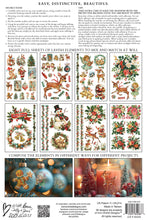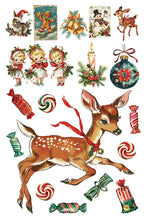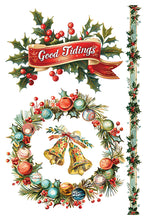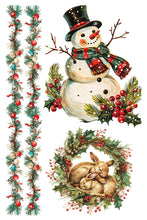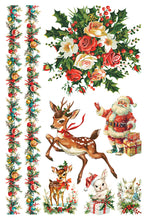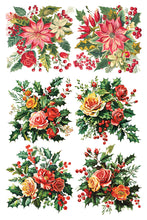
Iron Orchid Designs Transfers are the perfect way to effortlessly elevate your projects with instant style and charm. These delicate yet stunning transfers are a must-have for any DIY enthusiast or creative decorator. As with all IOD products, they are of the highest quality. The "halo" around the edge ( a necessary evil) is the thinnest of any transfer on the market-making it virtually invisible. IOD Transfers offer a wide variety of styles to suit every taste and aesthetic. Choose from vintage, French Country, farmhouse, florals, signage, and more. If you prefer a more subtle touch, there are also neutral transfers available. Each pack contains either 4 or 8 sheets measuring 12"x16", with occasional releases in sets of 8 sheets measuring 8'x12".
These versatile transfers are large enough to be used on furniture pieces and can be cut to fit smaller projects. Some sets are made to combine all sheets into one large pattern (or cut them down), while others have many smaller images you can combine or use individually. The patented grid pattern on the transfer sheet is a great help for lining up your images. Unleash your creativity and enhance your DIY projects with Iron Orchid Designs Decor Transfers.
APPLICATION:
To ensure optimal results, it is recommended to keep the transfer on the backing sheet until you are ready to apply it. This precaution prevents any dust or debris from interfering with the adhesion process. Additionally, take care to avoid letting the adhesive side tough itself.
For long-lasting quality, store transfers in appropriate conditions. Extreme temperatures or high humidity can negatively impact the adhesion.
When applying the transfer, make sure the surface is clean and matte. If the surface has been painted, ensure it is well cured. The Vin Cycle carries and recommends DIY Chalk Paint. It is the perfect medium for transfers. If any sanding has been done, remove all residual dust completely. For best adhesion, it is recommended that you seal the surface with a high-quality, water-based sealer before applying the transfer. We also recommend a sealer from DIY or Sweet Pickins'-both available from The Vin Cycle. DIY Big Top or All-In-One and Sweet Pickins' Top Coat are all great choices for before and after you have applied your transfer. DIY Wax can also be used as a top coat/sealer (but not before applying transfer).
Applying the IOD Transfer is a straightforward process. Carefully remove the transfer from the white backing sheet, then slowly and meticulously lower it onto the intended surface, ensuring correct placement. The carrier sheet has a grid pattern to help you line your image up, if necessary. To hold the image in place, use small pieces of low tack tape, such as painter's tape.
Using the provided tool or one of your choice, begin at one end of the transfer and firmly rub to adhere the image to the surface. Continue this process until the entire image is transferred. If you notice that part of the image is not adhered as you are pulling away the carrier sheet, simply lay it back down and rub more. You can also pull down a few inches of the transfer and begin applying it, pulling away the transfer sheet as you go.
Once the transfer is applied, gently rub the entire surface with a clean hand or a portion of the carrier sheet to remove any air bubbles and ensure the entire image is adhered. IOD Transfers can be sanded with low-grit sandpaper if you wish to create a more distressed/vintage look. For added protection and longevity, Iron Orchid Designs recommends sealing the transferred surface with a water-based or non-harsh solvent-based sealer. Again, we The Vin Cycle recommends DIY and Sweet Pickins' top coats/sealers and DIY Wax.
How-To Videos can be found on the IOD Facebook Page and You Tube Channel.


